Digital Uploads Tutorial
In order to help users get the most out of our upload service we have created this handy tutorial.
1. Choose a B&W or Colour product
Irrespective of the files you upload they will be printed using either our Colour or B&W service depending on which you choose. We have made this split as sometimes people want colour files printing in B&W or want monochrome files with a colour tint. So it gives more flexibility

2. Format
You can choose from Photo format (rectangular), Square or panoramic prints.
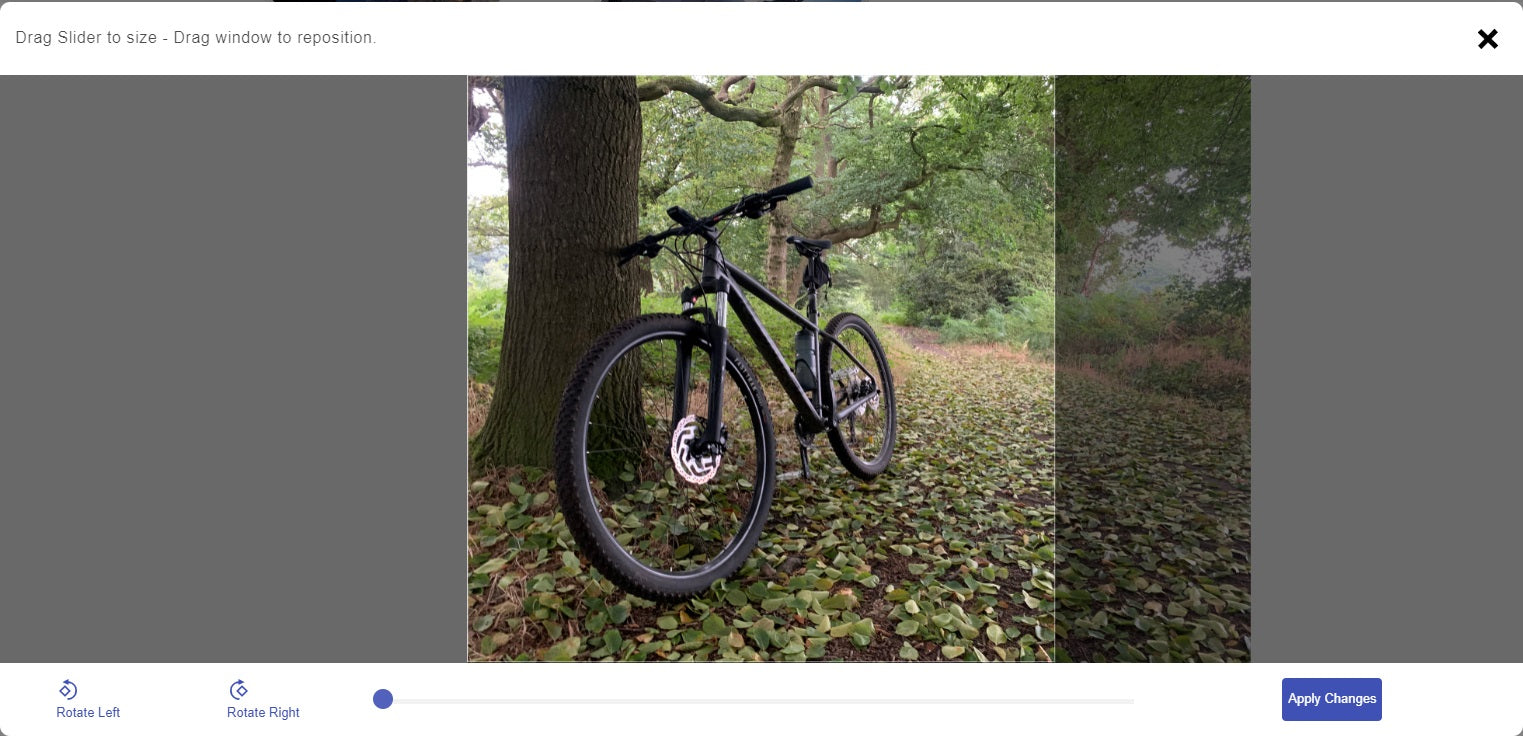
We have separated out square and Panoramic and provided a cropping tool facility for these sizes so customers can choose which parts of the image to display.
Rectangular prints do not use the cropping tool, but will be cropped to size by default if they don't fit exactly.

3. Uploading
Select the product that matches the print size, surface and borders you want.
Choose size and options, the discount table shows the price for multiple images of the same size.
Click the Upload button - You can upload photo's from your PC, phone, tablet etc... Only upload the images you want with these options. You can change the options and load more images later if required.

Choose the images you want and resize, crop or rotate each image. When you've processed each image they will upload. This may take a while depending on the number, size and speed of your connection.

One uploaded the quantity will change to the number of images uploaded. If you want 2 of each image, simply double the number.

You can now add the images to your basket and proceed to checkout or choose "continue shopping" to add more images.

NB For large or complex orders you may also choose to use our dedicated WeTransfer service instead of our uploader. Please organise your files into folders with size/quantity/surface etc.. Place your order on our website without uploading and then transfer the files using the appropriate order ref.
